Import Bank Statements (MT940) in Dynamics 365 Finance and Operations
The purpose of importing bank statements is to perform reconciliation of payments sent to the bank and payments received versus the cash amounts shown on the bank statement. Bank reconciliation is an important part of a company's internal controls over its assets.
The most common formats of electronic bank statements are MT940, BAI2, and CAMT.053.
Integration Flow Overview
The following steps describe the typical flow for importing electronic bank statements:
- The TMS (Treasury Management System) picks up the bank statement file.
- The TMS imports and transfers the bank statement file to the SFTP repository.
- Logic Apps picks up the file, handles encryption, and transfers the file.
- Logic Apps transfers the file to Azure Blob Storage and a SharePoint repository.
- D365 F&O picks up the file and imports it through the Data Management Framework.
Setting Up Bank Statement Import Using MT940 Format
Export Resource Files
- Open Application Explorer in Visual Studio.
- Locate Resources and filter by
BankStmtImport. - Copy the following resources to a local folder:
SampleBankCompositeEntity.xmlMT940TXT-to-MT940XML.xsltMT940XML-to-Reconciliation.xsltBankReconciliation-to-Composite.xslt
To export a resource file: select it (e.g. SampleBankCompositeEntity.xml), right-click and choose Open designer. Hover the cursor on the name of the opened file to see where the resource file is stored, then copy it to your local folder.
Create the Data Project
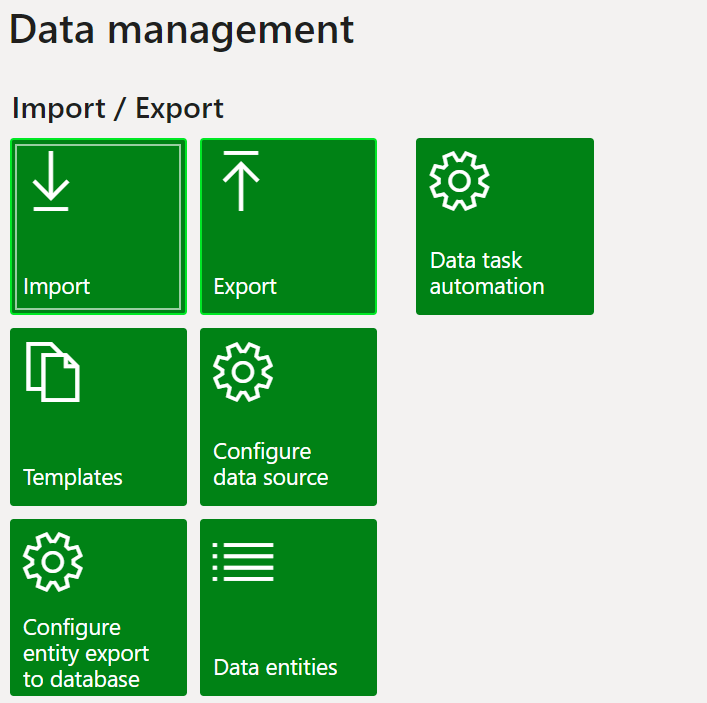
- Navigate to the Data management workspace, then select Import.
- Enter the name of the data project (e.g. Bank statement MT940).
- Select Add file.
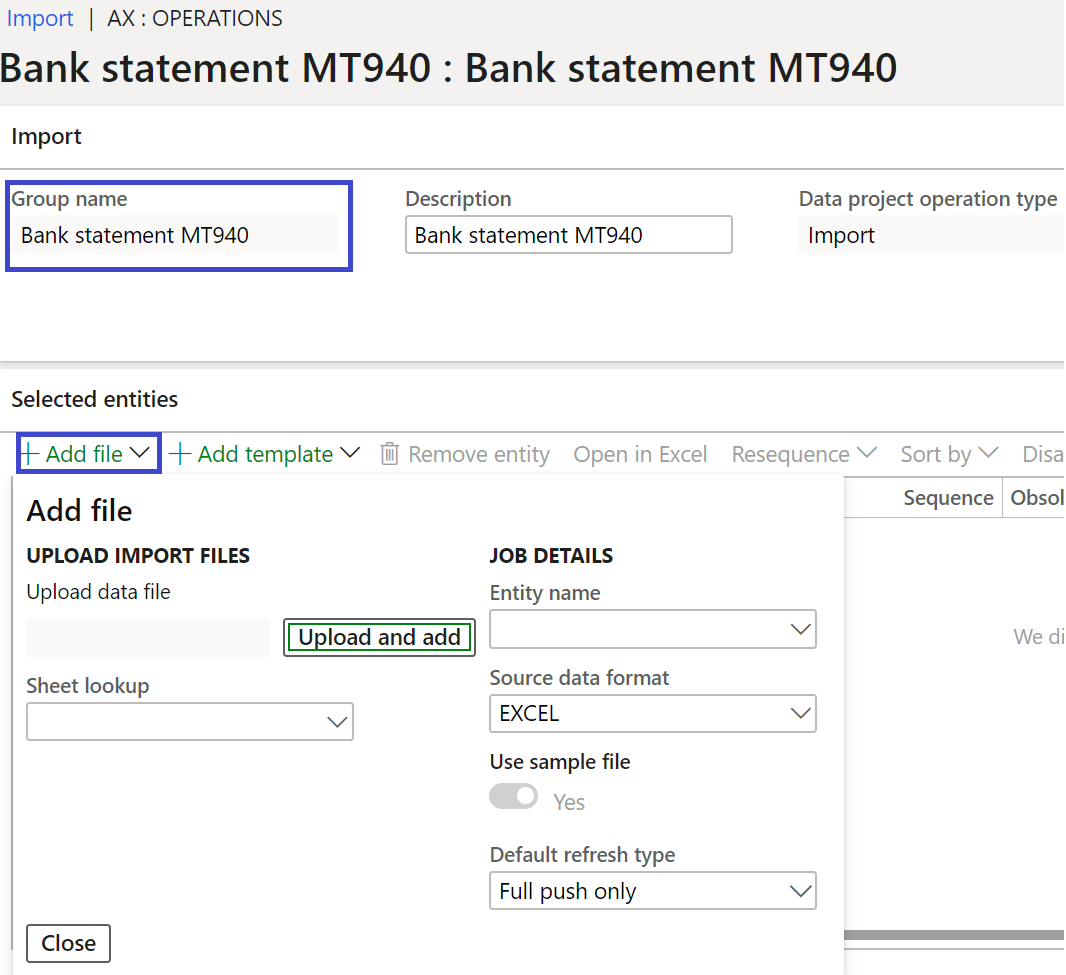
- Set Source data format to XML-Element.
- Set Entity name to Bank statements (target entity:
BankStatementImportEntity).
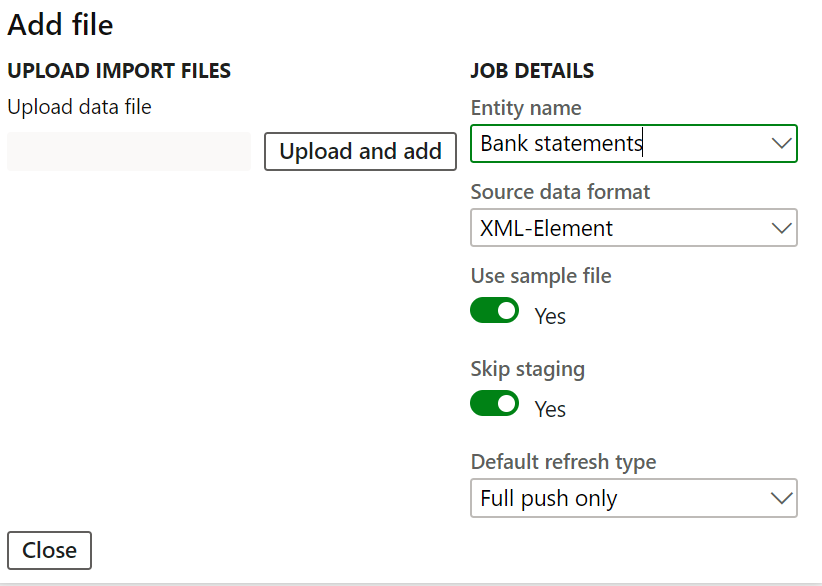
- Click Upload and select the
SampleBankCompositeEntity.xmlfile. - Click View map, then click View map again.
- On the Map source to staging page, choose Transformations.
- Choose New and Upload file.
- Upload all three XSLT resources in the following order:
MT940TXT-to-MT940XML.xsltMT940XML-to-Reconciliation.xsltBankReconciliation-to-Composite.xslt
- Click Apply transforms.
Set Up Bank Statement Format
- Navigate to Cash and bank management > Set up > Advanced bank reconciliation setup > Bank statement format.
- Click New.
- Enter a Name and Description.
- Add the processing group configured in the previous steps.

Configure the Bank Account for Advanced Reconciliation
- Navigate to Cash and Bank management > Bank accounts, then select a bank account to view details.
- Under the Reconciliation tab, set the Advanced bank reconciliation option to Yes.
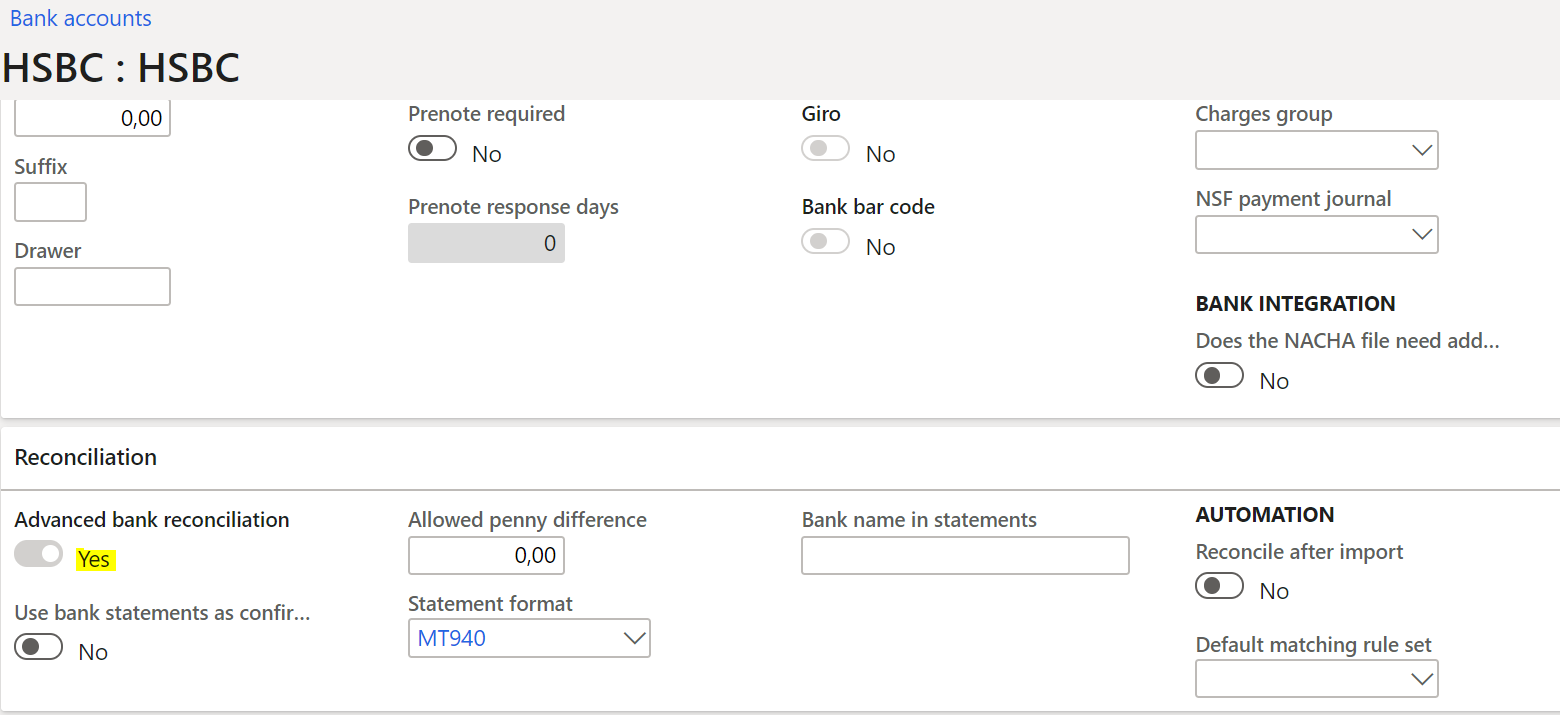
Note: This is a one-time setup — the system does not allow you to undo or change this once set to Yes.